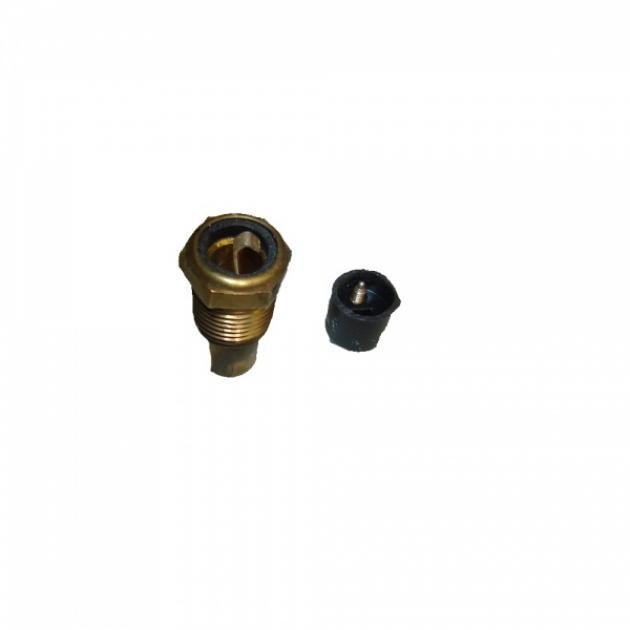
Description
- High Quality Reproduction
- Temperature Gauge Adjustable Resistor
- Allows You To Dial Your Temperature Gauge To Match Your Sending Unit
- Designed For Factory Original Gauges Only, Will Not Work With Reproduction Gauges
- Fits 1965-1982 Corvette Coupes & Convertibles
Your factory C2 1965-1967 & C3 1968-1982 Corvettes’ temperature gauge has a sending unit. Your sending unit is measured in ohms and fixed. If your sending unit fails, you’ll need replacement. However, the sending unit you receive may be different from the factory one you had. This is because each sending unit is calibrated to function within a certain ohm range. If the range is different than your original gauge, it won’t read properly.This device allows you to dial the precise ohm setting you need for the sending unit you are using. NOTE: This system will only work with factory original gauges. It will not work with reproduction replacement gauges.
How To Troubleshoot Temperature Gauge Issues:
Problems with your temperature gauge could be caused by the gauge itself, sending use, fuse, or wiring. Here are a few areas you can check to help troubleshoot the issues you may be having. NOTE: Perform the following procedure with the ignition key turned to the “on” position.
1.Temperature Gauge Sending Unit: Remove the wire from the temperature-sending unit located on the engine (typically a dark green wire). Then connect the wire to a good ground. You can do this by using a jumper wire. Check the gauge, if the needle points to “Hot”, replace the sending unit. If the needle does not move, remove the same dark green wire from back of the gauge and connect a jumper from the terminal on the back of the gauge to a good ground.
2. Temperature Gauge: Check the gauge if the needle moves toward “Hot”, the wire from the gauge to the sending unit has an open or bad connection. If it does not move, connect a test light by grounding one end to a good known ground and the other end to positive side of the gauge (typically a pink wire).
3. Fuse: If it does not illuminate, ensure the gas gauge fuse is good. If the fuse is good, connect a jumper wire between the ignition switch and the positive side of the gauge.
4. Wiring: If the gauge now works, replace the defective wiring between the gauge and the ignition switch. If the test light illuminates there is 12 volts present, replace the temperature gauge.